I've often heard children say, "There's nothing to do today". I beg to differ. I'd like to inspire you to do something. Anything. Read. Bake. Hike. Fish. Plant. Sail. Climb. Play. Reach. Move. Laugh. Dream; and take time to sit with me on The Old Granite Step.

Wednesday, July 6, 2016

Updating a 70's bathroom with a charming new vessel sink.

The popularity of vessel sinks made us think.....we have the perfect

place for one!  It was time to replace this old 70's seashell sink with something new.  We picked up this small black cabinet at a local auction.  You can find our other auction finds here.  It was the perfect size and had an easy to work on top; meaning there weren't any drawers that had to be re-designed around the pipes.  If you are looking for the sink base that's just right, make sure you're armed with the measurements you need when attending auctions, yard sales or consignment shops.
We would be able to keep the existing drawer and lower cabinet drawer.
After carefully removing the old sink and disconnecting the water supply, we purchased our new vessel sink and faucet.  Please note that there are faucets made specifically for use with a vessel sink.  We set the sink on top of the new cabinet and drew a circle where the new drain would be.  The sink is attached to the cabinet with adhesive that's made for this task.
Since the cabinet top was on hinges, it was relatively easy to work on.  The new faucet is attached.  The top will be attached with small "L" brackets later on.
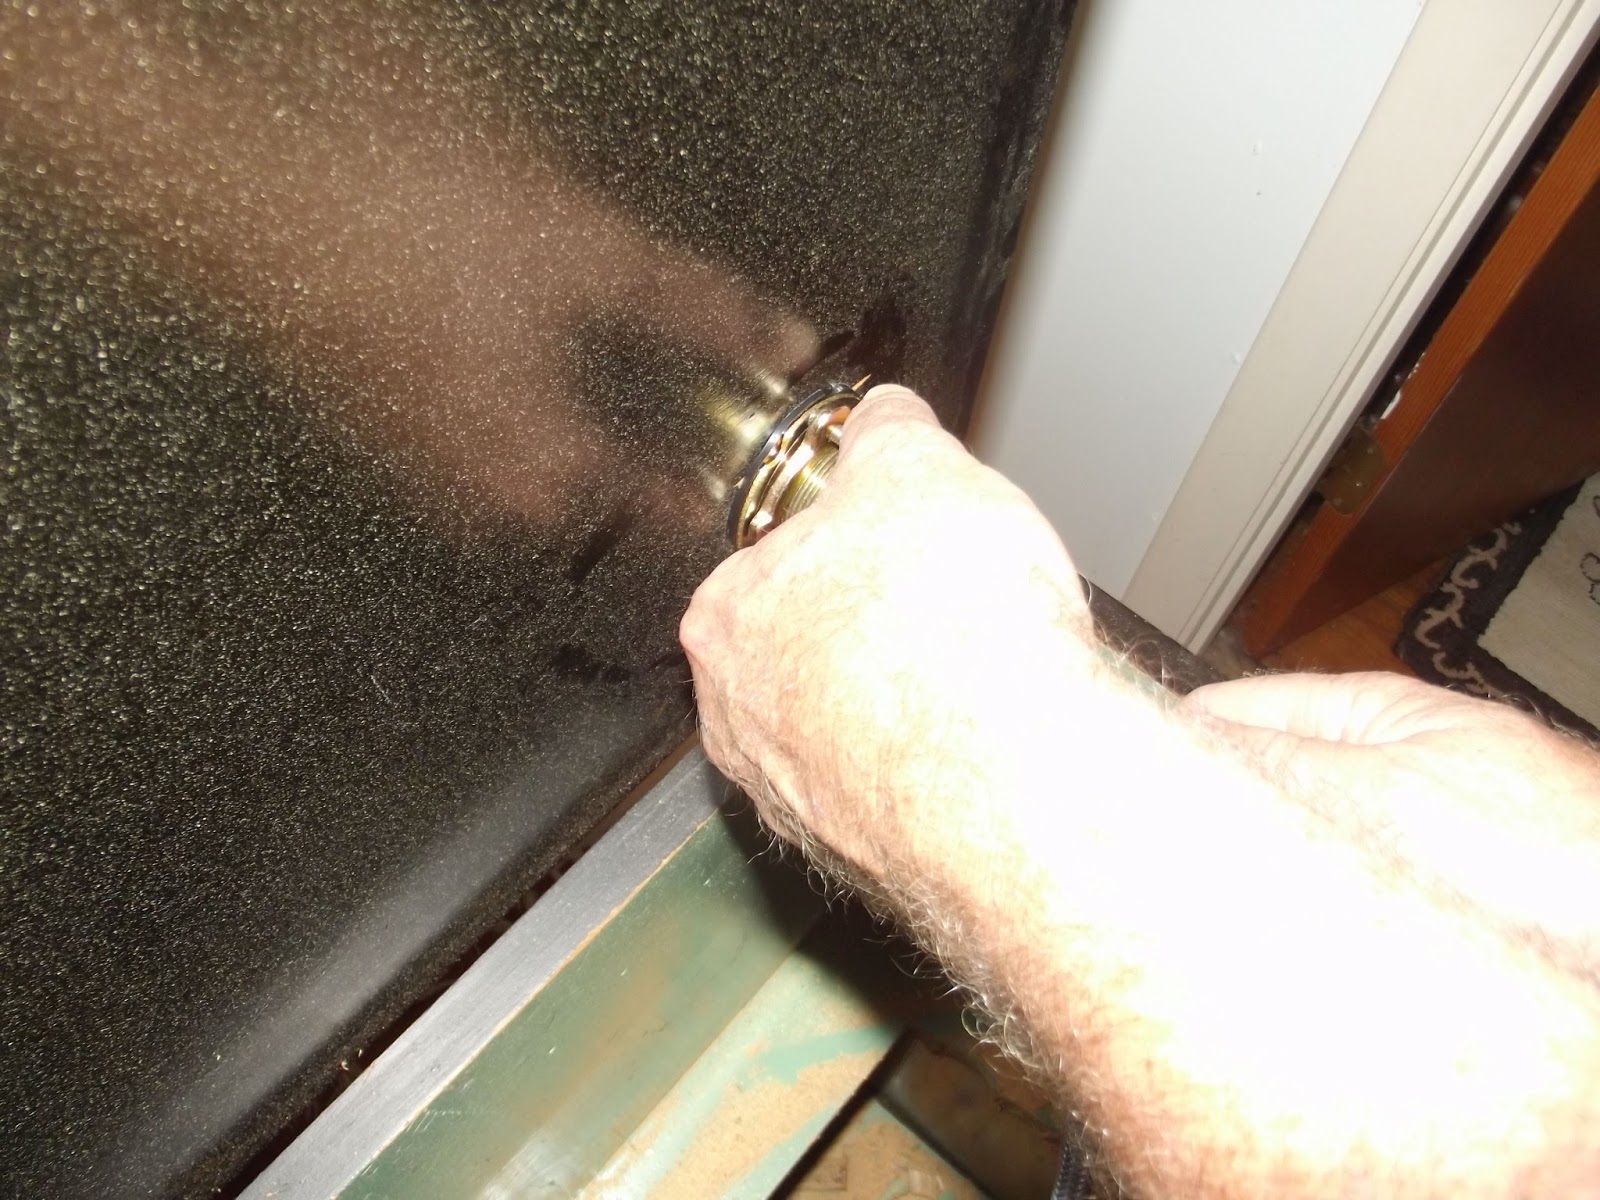
 When working on a project like this, you must tighten everything so all water lines and drains are secure!
 So far so good; we love the shiny new faucet!
 Using a hole saw blade, we carefully drilled the hole for the drain.
 Yes, sawdust goes everywhere!  A breathing mask is recommended.
The old water lines didn't have shut off valves.  Shut offs aliviate the problem of having to turn off the entire water system in the house if one of the lines needs work.  New shut off valves are installed and tested.  A hole is cut in the bottom of the sink base for the water and drain pipes. The sink is put into place and the new water lines are attached.  After attaching the new drain, it's ready to use!
It's exactly how we pictured it would be!  The bathroom is tiny and the old sink overpowered the room.  This is just the right size.
A coat of polyurethane to the top of the cabinet and a little paint on the wall (the old sink was just a bit larger) is all that's needed.  The finished project updates this dated bath.

Note - If you've never installed something like this yourself, hire a professional!  You can learn by watching.

Another note - We donated the old sink to a local charity yard sale.  There was nothing wrong with it and they were happy to accept it!  The less we put in our landfills, the better.

No comments:

Post a Comment